Wiki home / Underkeep Grimfen Map: Fog Maze, Grgla & Exits
Underkeep Grimfen Map: Fog Maze, Grgla & Exits
Cross the Grimfen fog maze with Grgla, find both Mireheart entrances, Obula and Elderfen, and check verified chests and enemies.
Updated 2026-11-18
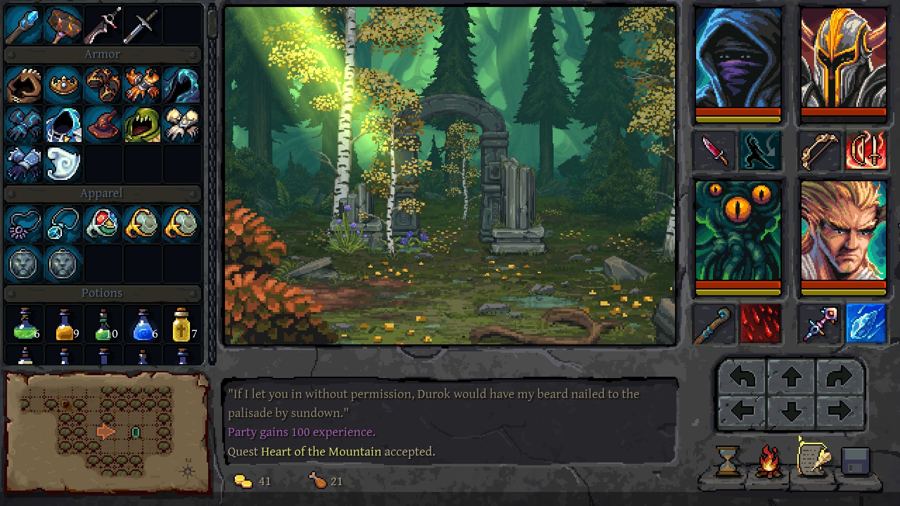
Grimfen is the swamp south of Caerlin Woods. Its most confusing obstacle is the fog maze: the party can become lost because the fog is hidden from the normal minimap. The verified route is to find Grgla the Sleazy, ask him about the fog maze, accept his fish and let him join as a guide. Grgla also moves the quest toward The Mireheart, where his lost friend, The Thing, is waiting.
Use the Grimfen interactive map while reading this guide. The map notes were updated November 10, 2026 and identify 26 markers, including exits, chests, enemies and dungeon entrances.
Grimfen map and route overview
The swamp connects to three major destinations: Obula's Hollow at the north, Ruins of Elderfen at the south and The Mireheart through both a pool-side entrance and a southern entrance. It also returns to Caerlin Woods at two points. The map labels both Caerlin connections and both Mireheart connections, which makes it more reliable than prose that merely says “north” or “south.”
The waystone at [33,27] provides fast travel. The resurrection shrine at [15,17] is a useful checkpoint before testing the altar, fog maze or southern ruins. If you enter from Caerlin Woods and cannot see the intended path, open the interactive map and orient the in-game automap before pushing deeper into the fog.
Find Grgla and cross the fog maze
Grgla is marked at [23,24], south of the main fog zone. Talk to him before entering the maze. Ask about the fog maze, accept Grgla's fish, and allow him to join as a guide. The map note says he guides the party through the fog that the in-game map cannot reveal.
Do not eat or discard the fish for food. It is part of the encounter chain around The Thing and is named in the current Mireheart notes as an item you may feed the boss. If you visited The Mireheart first and missed Grgla, return to the swamp and complete the conversation before drawing conclusions about the boss.
Evil Ents, altar and the lost dwarf
The altar at [18,23] is marked as the place where Evil Ents rise when the party meets Grgla. Clear the encounter before trying to use the altar as a landmark. A lost dwarf at [20,16] mumbles clues about red roots in the dark, cages that resemble monsters and not killing every guardian. These are useful hints for later areas, but the map does not present them as a standalone quest solution.
Tentacles are burrowed across the swamp and rise near the party; every hit causes disease according to the map note. Do not assume that every tentacle-shaped mound is only scenery. At the same time, the fog maze itself is solved by following Grgla, so none of the visible riddle lines replace that NPC step.
Chests and optional stops in Grimfen
The map notes record three chests and one lootable dead adventurer:
- [11,18]: Hat, Ectoplasm, Potion of Minor Stamina, Mindwell Elixir, Rusty Sword and Recipe: Ironhide Potion.
- [9,21]: Recipe: Potion of Poison, Moonpetal, Potion of Mega Healing, Embersteel Amulet and Crimson Edge Ring.
- [33,33]: Shield of Wind.
- [16,25]: Bloodstained Letter, Hardened Armor, Hand Axe, Bug Mandible and Old Key from a dead adventurer.
The map also marks Alligator Gauntlets on the floor at [45,19] and a secret-wall skull button at [32,28]. Loot is patch-sensitive, so use these as expected locations rather than a promise that every drop remains unchanged. If you need the fish, keep quest items separate from the food stack in your inventory.
Entrances to The Mireheart
The current map resolves a common point of confusion. The pool-side Mireheart entrance is E2 [37,7], while the southern entrance is E6 [36,33]. A player-made prose guide can reverse these positions; use the labelled map when one direction sounds wrong.
The pool-side entrance places you near The Thing's first appearance, while the southern entrance has its own route through the dungeon. Neither entrance alone tells you that the boss can be weakened. For that step, continue to The Thing guide and read the Rootgrave route before starting the final fight.
Obula's Hollow and Ruins of Elderfen
Obula's Hollow is the northern spider nest at an exit from Grimfen. The map note says Obula remains peaceful while you leave her eggs alone; one egg contains a sword. Do not test that warning by attacking the eggs unless you are prepared for the fight.
The Ruins of Elderfen are at the southern exit and contain skeletons, an egg-sac trap and a hidden button that opens a secret nook with a Heavy Crossbow. This is a separate optional route from the Mireheart fog path. Clear the ruins only after checking your supplies and saving; the southern Mireheart entrance is nearby but does not replace the root preparation.
Grimfen FAQ
Why can't I see my route in the Grimfen fog?
Use Grgla as a guide. The fog maze is hidden from the normal in-game minimap, and the current map note explicitly identifies Grgla as the solution rather than a local map marker alone.
Where is the second Mireheart entrance?
The labelled map puts the pool-side entrance at [37,7] and the southern entrance at [36,33]. Check the map note before following a prose summary.
Is the fish food?
Treat it as a quest item. The Mireheart notes list it in the swamp boss interaction, and the dialogue path begins with Grgla.
Sources and verification
This route was checked on November 18, 2026 against dj's Underkeep map index, the Grimfen map notes updated November 10, 2026, the The Mireheart notes, and the developer reply in the swamp boss discussion. The Steam store page independently confirms the game's automap and environmental-puzzle systems.
Sources
- dj: Underkeep Area Maps (community map index) (checked 2026-11-18)
- OldGames.sk: Grimfen map notes (checked 2026-11-18)
- OldGames.sk: The Mireheart map notes (checked 2026-11-18)
- Developer reply: the swamp boss can be saved (checked 2026-11-18)