Wiki home / Underkeep Silent Riddles Solutions: 2:35 Torches, Items & Keys
Underkeep Silent Riddles Solutions: 2:35 Torches, Items & Keys
Solve The Silent Riddles in Underkeep: four item alcoves, the 2:35 torch clock, Dexterity plates, creature plates, Iron Keys and secrets.
Updated 2026-11-18
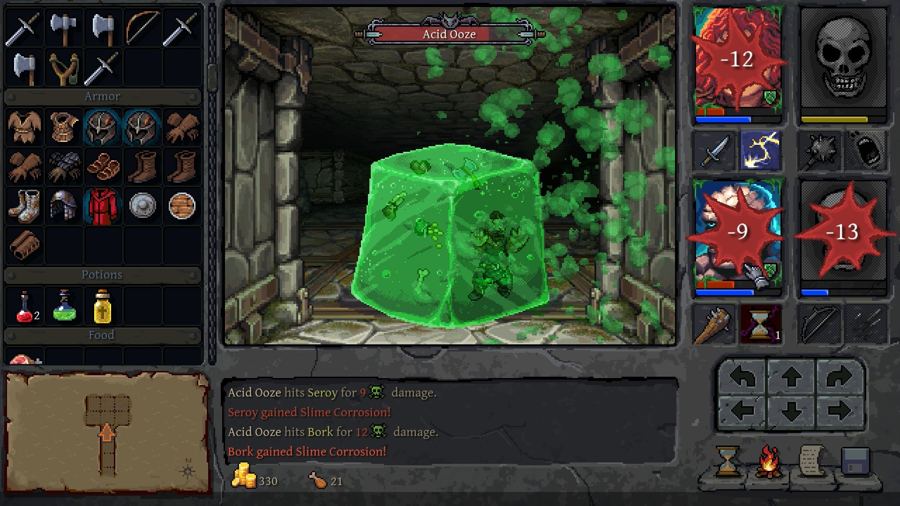
The Silent Riddles are the second-floor puzzle area of the Soulforge. The important answer is that this is not one riddle: the room with four item alcoves, the twelve-torch clock, the Test of Dexterity and the four pit plates are separate mechanisms. Solve each state change and use the map notes to check which gate or key it affects.
The verified solutions below come from the current map notes for The Silent Riddles in the community map set, updated November 15, 2026. Coordinates are included so you can compare the note with the labelled interactive map. They are directions, not an invitation to stand on the marker blindly.
The Silent Riddles solutions at a glance
| Mechanism | Verified solution | Reward or route change |
|---|---|---|
| Four riddle alcoves | Place the Pickaxe in the north alcove, Rock in the east-wall north alcove, Apple in the east-wall south alcove and Shovel in the south alcove. | Eastern grate opens; the note records 100 XP. |
| Clock of twelve torches | The corridor sign says 2:35. Light the 2 o'clock torch and the 7 o'clock torch, while all others stay out. | The pedestal gives 120 XP and an Iron Key. |
| Test of Dexterity | Throw any item west so it strikes the wall and lands on the last plate. | Northern grate opens; take the north corridor around the throw-back plates. |
| Four creature plates | A creature, not a party member or ordinary thrown item, must hold each plate. | Each plate switches pits in the west corridor. |
Four riddle alcoves: Pickaxe, Rock, Apple and Shovel
At the item room, the map note labels the four placements by direction: Pickaxe north, Rock in the east wall's north alcove, Apple in the east wall's south alcove and Shovel south. Put one required item in each alcove. When all four are in place, the grate to the east opens and the map records 100 XP.
Do not use the “Pickaxe” clue to assume that every pickaxe-looking object in the dungeon is interchangeable. Collect the item the game accepts for the alcove and watch the gate state. If one item is missing, leave a clear automap mark at the riddle room rather than repeatedly resetting the other three placements.
The 2:35 torch clock
The corridor sign 2:35 corresponds to two clock positions around the ring of twelve torches. Light only the torch at 2 o'clock, on the east wall toward the north end, and the torch at 7 o'clock, on the south wall toward the west end. All other torches remain unlit. The map note records 120 XP and an Iron Key on the pedestal after the correct state.
This is the most commonly misunderstood puzzle because “2:35” can sound like a count, a duration or a sequence. The map note names both torches explicitly, so use position rather than improvising from the minute number. If the pedestal does not appear, turn off every other torch and compare the room with the map's clock diagram before trying a new combination.
Test of Dexterity: throw one item west
The long corridor contains invisible plates that throw the party and carried items back toward the entrance. The verified solution is to throw an item west so it hits the far wall and lands on the final plate. The northern grate then opens. Walk around through the north corridor rather than charging through the plates.
Any ordinary throwable item is enough according to the map note. This is one place where a cheap item is better than a quest item: throw it, verify the plate sound or visible grate change, and then retrieve it only if the game allows. A save before the corridor is helpful because failed throws can scatter party members and inventory.
Four plates by the pits
The sign near this puzzle says that small things decide great ones. Four plates around the pits require creatures to press them. The map notes state that each plate switches a different pit in the west corridor. Treat this as a creature-positioning puzzle rather than a weight puzzle for your heroes.
The map marks the plates, but it does not establish that every enemy in the room is safe to preserve or convenient to lead. Check the current encounter and your party's control tools in game. If the desired pit state is already correct, leave the plates alone while exploring the rest of the floor.
Iron Key locks and secrets on the floor
The map marks five Iron Key locks: four doors or grates and one additional grate. It also shows Iron Key sources in two item alcoves, the clock pedestal and a chest. Those sources are not necessarily the only key source in the game, and the map's notes should be read as locations to investigate before assuming a missed key is a bug.
A separate hidden button on the south face of a pillar opens two secret walls toward the northeast alcove. Three hidden moss buttons each open one secret wall in a side room. A further hidden button opens a wall to a chest. If you are clearing the floor, match each button to the wall that changes instead of pressing blindly from the entrance.
The image-heavy map notes show more exact alcove positions than a prose copy can preserve. Open the interactive The Silent Riddles map and use the marker labels while you play.
Enemies and checkpoint advice
The current floor notes list four Blood Golems behind a locked door, Voidblades spread across the level and concentrated in the crypt, Fangspires, Voidbiters and hot steam vents. These are not optional trivia: they change how long it takes to retreat and reset a puzzle. Keep the nearest resurrection shrine or floor entrance in mind before opening a new section.
The Silent Riddles has exits back to Soulforge - Outer Halls, a route to The Furnace on the south side and pit drops to The Furnace at the east side. Do not descend until you have saved and recorded any unrecovered keys or secret alcoves you still need. A route downward can put several fights between you and the previous puzzle state.
The Silent Riddles FAQ
Is 2:35 a torch count?
The map note treats it as a clock: light the 2 o'clock and 7 o'clock torches only. The sign's digits are positions, not a total number of torches.
Which item goes in the north alcove?
The Pickaxe goes north. The Rock is in the east wall's north alcove, the Apple in the east wall's south alcove and the Shovel in the south alcove.
What opens the northern gate in the Dexterity room?
Throw any item west onto the final plate. Then walk around using the north corridor instead of stepping through the throwing plates.
Do I need to finish every secret before leaving?
Only if you want the notes' experience, keys or secret loot. Save and mark the room if you move on; a later return may be longer than expected because of the crypt and floor exits.
Sources and verification
This guide was checked on November 18, 2026 against the Steam map index and its linked The Silent Riddles interactive map notes, which display an update on November 15, 2026. The Steam store page independently documents the game's environmental puzzles and in-game automap. Mechanics beyond the current map notes are left out.
Sources
- dj: Underkeep Area Maps (community map index) (checked 2026-11-18)
- OldGames.sk: The Silent Riddles map notes (checked 2026-11-18)
- Underkeep on Steam (checked 2026-11-18)